Top Tips for Getting the Best Passport Size Photo Quality

In today's world, a high-quality passport size photo is essential for anyone planning to travel abroad. Whether you’re visiting family, exploring new countries, or going on business trips, your passport photo must meet specific standards to avoid complications. A poor-quality photo can lead to delays, rejection at the border, or problems with visa applications. In this guide, I will share practical tips to help you achieve the best passport size photo quality, focusing on using an effective Passport Size Photo Maker like Supawork.
Understanding Passport Size Photo Maker Requirements
Before taking your passport photo, it's important to know the basic requirements. Each country has specific guidelines, but some general rules apply universally:
- Size: Most countries require passport photos to be 2x2 inches (51x51 mm). Some countries, like India, have different dimensions, so it’s essential to check the requirements for your destination.
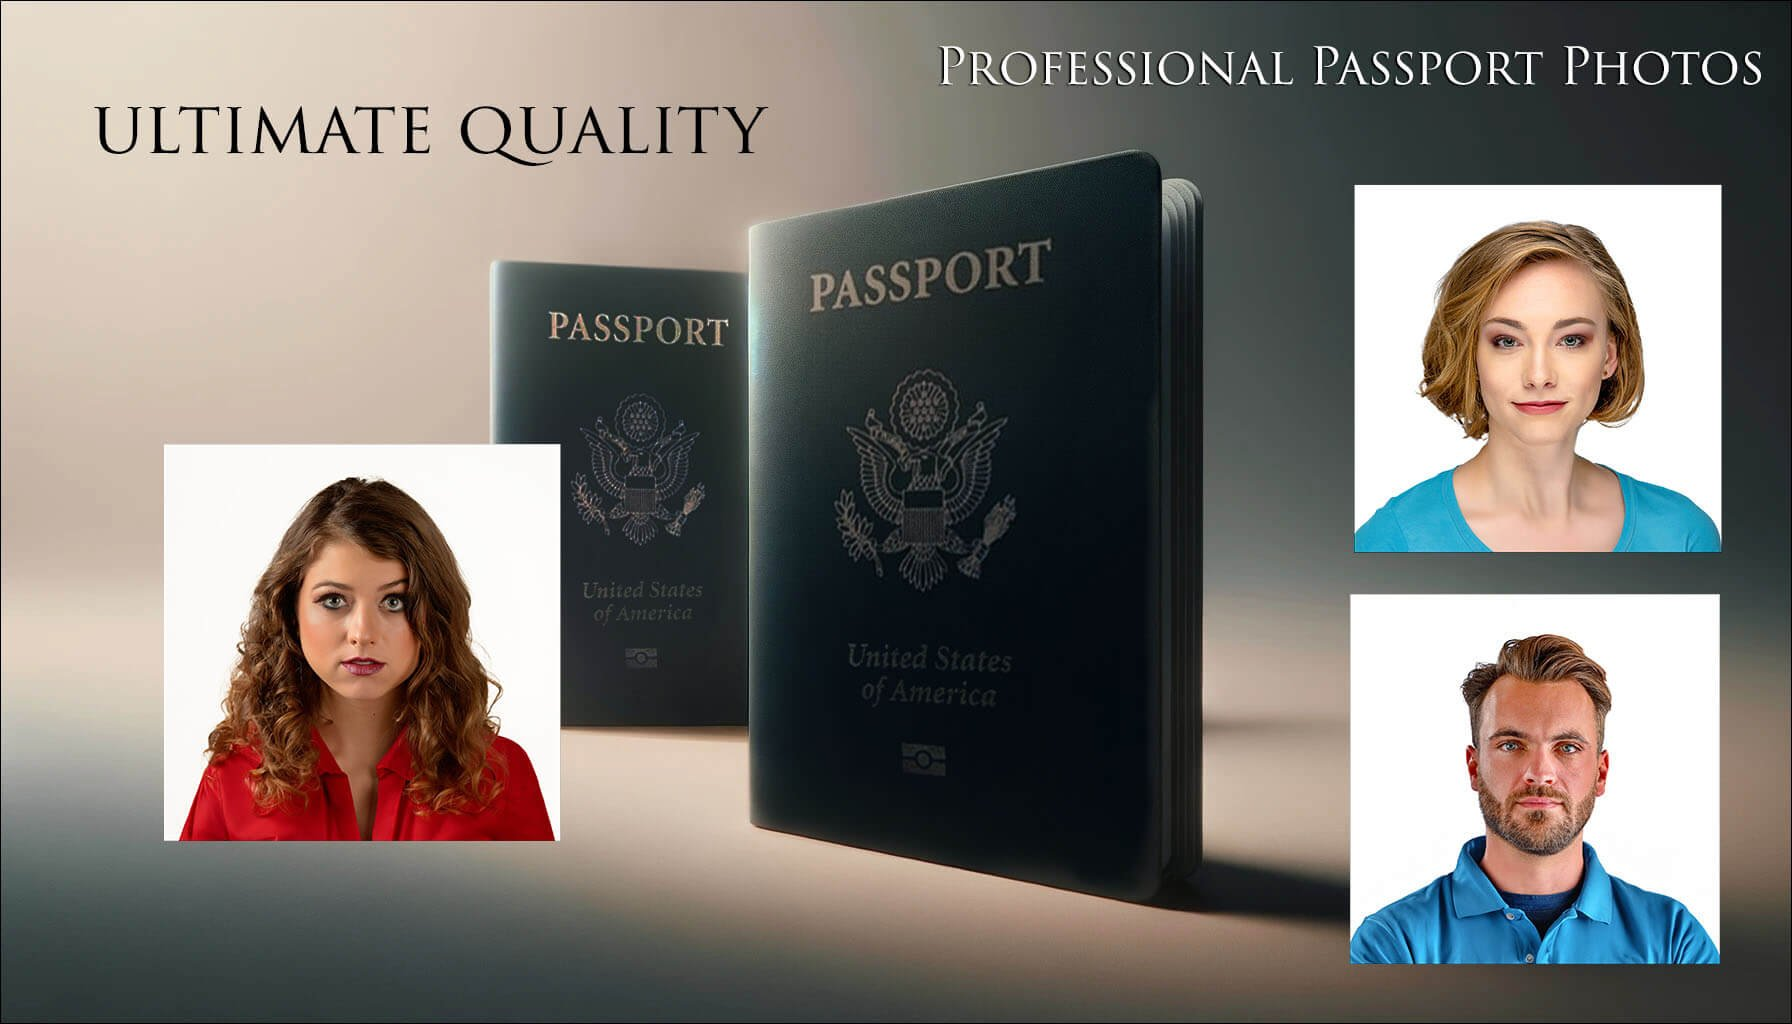
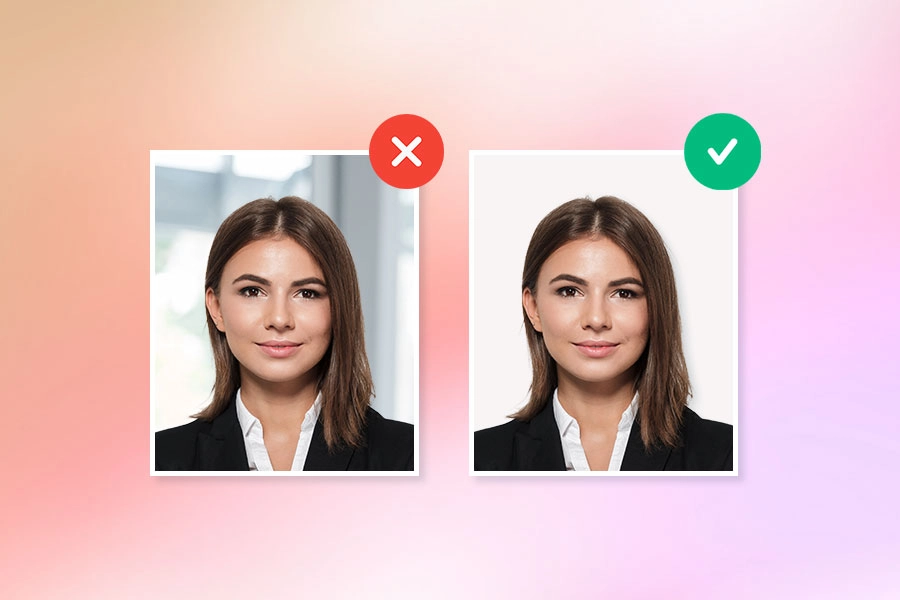
- Background: A plain white or off-white background is typically needed. This ensures that your face stands out clearly. Avoid backgrounds with patterns or colors that could distract from your face.
- Lighting: Natural lighting is best. Avoid harsh shadows and bright spots on your face. The light should be even across your features, which can be achieved by facing a window or using diffused artificial lights.
- Facial Expression: A neutral expression is preferred. This means no smiling, frowning, or exaggerated expressions. Your eyes should be open, and your mouth closed, presenting a straightforward and approachable demeanor.
- Clothing: Wear everyday attire that contrasts with the background. Avoid uniforms or clothing that blends in with the background, as these can lead to confusion during identification.
- Accessories: Keep jewelry and accessories to a minimum. Glasses can be worn, but make sure there are no reflections obscuring your eyes. Head coverings for religious purposes are allowed but must not obscure your facial features.
Understanding these requirements is crucial to ensure that your passport photo passes inspection. Not following these guidelines could result in rejection, causing delays in your travel plans.
Choosing the Right Passport Size Photo Maker
Using a Passport Size Photo Maker can simplify the process of creating your photo. Here are some key features to look for:
- User-Friendly Interface: The tool should be easy to navigate. Look for options that guide you step-by-step, making it accessible for users of all technical levels.
- Auto-Cropping Features: An excellent photo maker will automatically crop your photo to the correct size, which saves you time and hassle.
- Background Removal: Some tools can help remove backgrounds or enhance them to meet requirements, ensuring your photo is compliant.
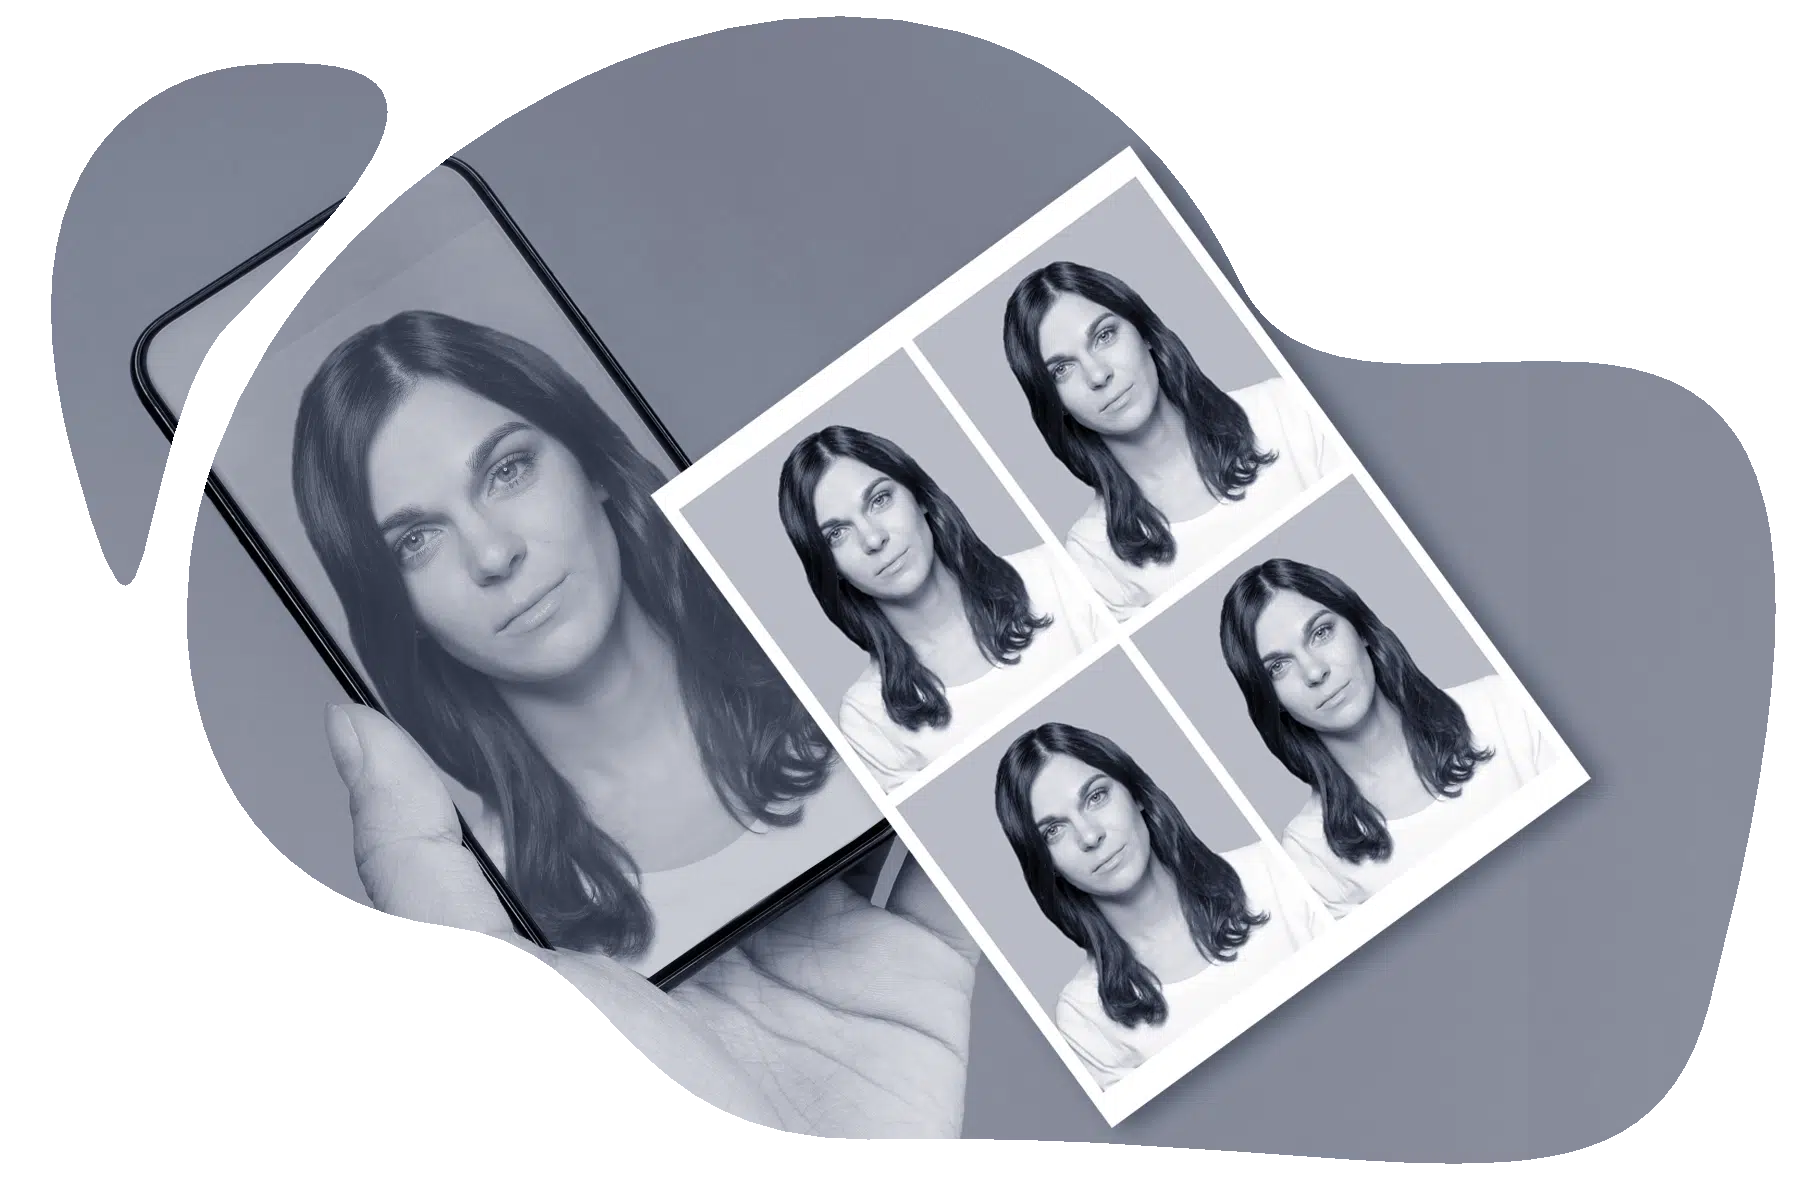
- Preview Option: Before finalizing, it’s helpful to see how your photo will look in passport format. This feature allows you to make any necessary adjustments before printing.
- Quality Output: The tool should provide high-resolution images that maintain clarity and quality when printed. Poor quality can result in a photo that fails to meet standards.
Among the many options available, I highly recommend Supawork. Its interface is intuitive, and the features make it easy for anyone to create a compliant passport photo without any hassle. The combination of automatic adjustments and user-friendly design sets it apart from other tools.
Tips for Taking Your Photo with Passport Size Photo Maker

Here are some practical tips to ensure your passport photo turns out great:
- Choose the Right Location: Find a well-lit area with a plain background. A wall or sheet can work well. Make sure there are no distracting elements behind you, like furniture or clutter.
- Use Good Lighting: Natural light is the best. Try to take your photo during the day. Face a window, but avoid direct sunlight to prevent harsh shadows. If natural light isn't available, use soft, diffused artificial lights to illuminate your face evenly.
- Frame Your Photo Correctly: Make sure your head is centered in the frame, and your face is clearly visible. The photo should include your shoulders and the top of your head. Avoid cropping too closely, as this can cut off important features.
- Get the Right Angle: Position the camera at eye level. This angle is most flattering and keeps your features aligned with the camera. Avoid tilting your head or looking down or up.
- Dress Appropriately: Wear something simple and avoid busy patterns. A solid color shirt is often a good choice, as it provides a nice contrast against the background. Ensure that your clothing is neat and presentable.
- Stay Calm and Relaxed: Take a deep breath before snapping the picture. A relaxed expression looks more natural and approachable. If you're nervous, practice in front of a mirror until you feel comfortable.
- Consider Your Hair and Makeup: Ensure your hair is neatly styled and does not cover your face. If you wear makeup, keep it natural to maintain a realistic appearance.
Following these tips will help you capture a photo that meets the necessary requirements while looking good at the same time.
Editing Your Photo for Quality by Passport Size Photo Maker
Once you have taken your photo, the next step is editing it. This is where a Passport Size Photo Maker like Supawork really shines:
- Crop the Image: Use the cropping tool to adjust the dimensions to 2x2 inches. Make sure your head fits the required size within the frame, as this is crucial for compliance.
- Adjust Brightness and Contrast: Good tools will allow you to enhance the brightness and contrast, making your features stand out clearly. Pay attention to the skin tone and avoid overexposing or underexposing the image.
- Check Background: Ensure that the background is uniform and meets the requirements. If necessary, use the background removal tool to achieve a clean look. A clutter-free background is essential for a professional appearance.
- Final Preview: Before saving, take advantage of the preview feature. This will show you how your photo will appear in a passport. Make any necessary adjustments at this stage.
- Save in High Resolution: Ensure that the final image is saved in a high-resolution format. This prevents pixelation when printing and guarantees that your photo looks sharp and professional.
Supawork provides all these features in an easy-to-use format. It’s designed for people who may not be tech-savvy, making it a great choice for anyone looking to create a quality passport photo.
Preview in Passport Size Photo Maker and Printing Your Photo

Once your photo is edited, you’ll need to finalize it for printing:
- Save the Photo in the Right Format: Save your photo as a JPEG or PNG file, as these formats are widely accepted. Ensure you choose the highest quality settings during the saving process.
- Choose the Right Printing Method: You can print your photo at home or send it to a professional printing service. If printing at home, use high-quality photo paper to ensure the best results.
- Check Printer Settings: Ensure that your printer settings are configured to print at the correct size (2x2 inches). Double-check the dimensions before printing to avoid mistakes.
- Review the Print: Once printed, hold it up to the light and check for any issues, such as blurred areas or color inconsistencies. Make sure the photo is sharp and all facial features are clearly visible.
- Consider Multiple Copies: It’s a good idea to print several copies of your passport photo. This way, you have backups in case of any unexpected issues during travel.
Having a high-quality print is just as important as the digital image, so take the time to ensure it looks good.
Common Mistakes to Avoid When Using Passport Size Photo Maker
To ensure your passport photo is accepted, be aware of common mistakes that can lead to rejection:
- Incorrect Size: Double-check the size before printing. An incorrect size is one of the most common reasons for rejection. Always confirm the dimensions required for your specific application.
- Distracting Background: Avoid busy patterns or colors that blend in with your clothing. A simple, uniform background is essential for clarity.
- Poor Lighting: Shadows on your face or background can lead to issues. Make sure the lighting is even, and there are no bright spots obscuring your features.
- Wrong Expression: Remember to keep a neutral expression. Smiling or frowning can cause problems. Take multiple shots to find the best expression.
- Inappropriate Clothing: Avoid uniforms or clothes that blend into the background. Stick to simple, solid colors that make you stand out.
- Neglecting Accessories: Ensure that glasses do not reflect light and that head coverings do not obscure your face. Jewelry should be minimal to avoid distractions.
- Ignoring Specific Country Requirements: Each country may have unique requirements for passport photos. Always check the specific guidelines before submission.
By avoiding these pitfalls, you can increase the chances of your passport photo being accepted.
Conclusion of Passport Size Photo Maker
In summary, creating a high-quality passport size photo is essential for anyone who travels abroad. By understanding the requirements, using a reliable Passport Size Photo Maker like Supawork, and following the tips outlined in this guide, you can ensure your photo meets all standards.
The right photo can make all the difference in ensuring a smooth travel experience. With Supawork’s user-friendly interface and powerful features, you can easily create a compliant passport photo that reflects your best self. So take the time to get it right, and you’ll be well on your way to your next adventure!
Investing in a great passport photo is not just about the image itself; it's about peace of mind knowing you are prepared for whatever travels lie ahead.


